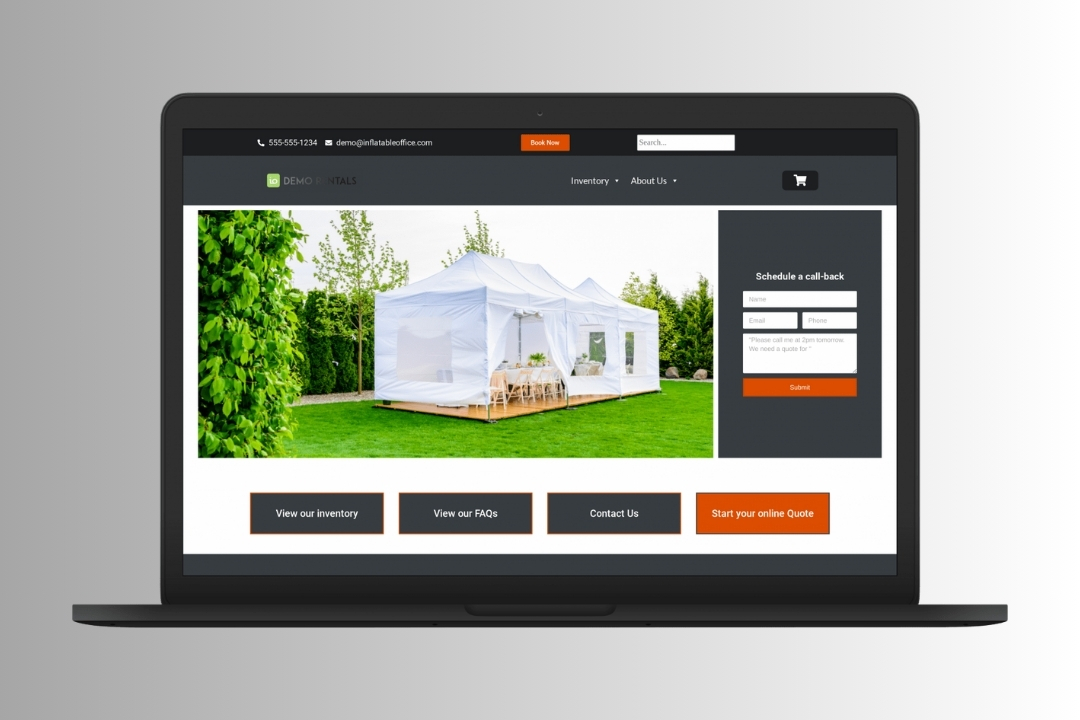
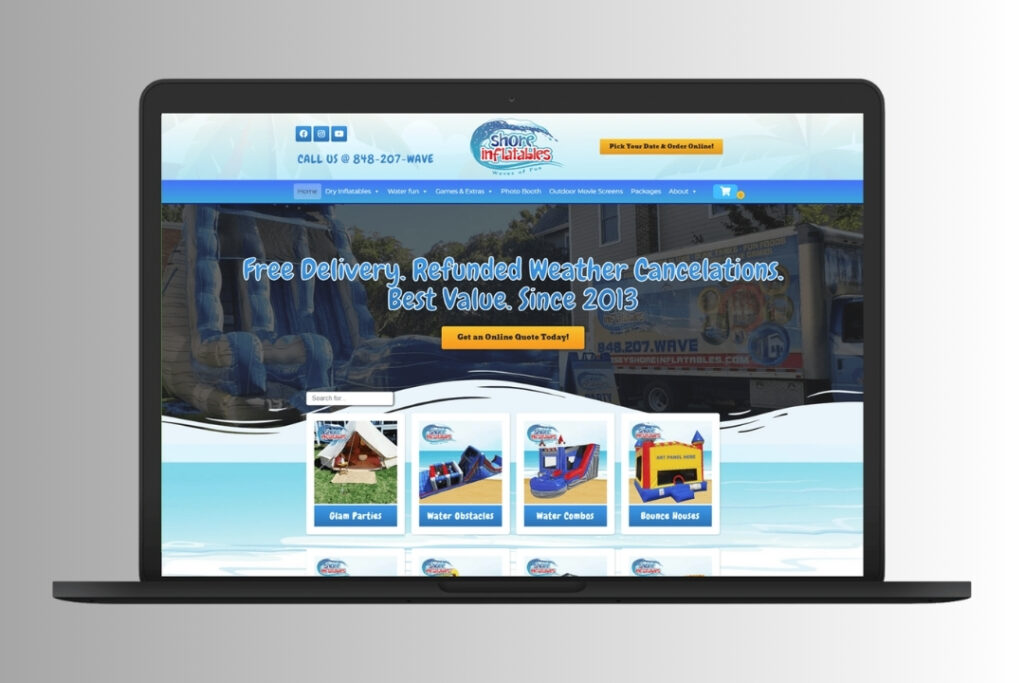
El sector de alquiler de eventos se nutre de la organización y la eficacia. La gestión de los clientes, las reservas y el inventario es crucial para garantizar unas operaciones fluidas. En Plugin de oficina hinchable (IO) es una potente herramienta diseñada para simplificar estos procesos a las empresas de alquiler de eventos.
En WebbDesignzEntendemos la importancia de los sistemas de gestión racionalizados. Esta guía le guiará a través del uso de Inflatable Office Plugin para gestionar las relaciones con los clientes y el inventario de forma eficaz.
¿Qué es el plugin de oficina hinchable?
El plugin Inflatable Office es una herramienta de gestión adaptada a las empresas de alquiler de eventos. Se integra perfectamente con su sistema actual y ofrece funciones para gestionar clientes, realizar un seguimiento del inventario y optimizar los flujos de trabajo.
Características principales del plugin de oficina hinchable:
- Gestión de clientes: Almacene y organice los datos de los clientes, incluido el historial de reservas.
- Seguimiento de inventarios: Supervise la disponibilidad y el estado de los equipos en tiempo real.
- Sistema de reservas: Simplifique la programación de eventos con una interfaz intuitiva.
- Herramientas de información: Genere informes detallados para obtener información y tomar decisiones.
La flexibilidad y funcionalidad del plugin lo convierten en un activo indispensable para las empresas de alquiler de eventos.

¿Por qué utilizar el plugin de oficina hinchable?
Gestionar el alquiler de eventos implica hacer malabarismos con múltiples tareas simultáneamente. El plugin Inflatable Office agiliza estas tareas, ahorrando tiempo y reduciendo errores.
Ventajas de utilizar el plugin de oficina hinchable:
- Eficacia: Automatice las tareas repetitivas y mejore la productividad general.
- Precisión: Garantizar que los datos de los clientes y los detalles del inventario estén siempre actualizados.
- Escalabilidad: Gestione las operaciones de empresas de todos los tamaños.
- Satisfacción del cliente: Proporcionar un servicio más rápido y fiable.
En WebbDesignzrecomendamos este complemento a las empresas que deseen mejorar su eficacia operativa.
Configuración del plugin de oficina hinchable
Antes de sumergirse en las características del plugin, es crucial configurarlo correctamente. He aquí cómo empezar:
Paso 1: Instalar el plugin
- Descargue el plugin Inflatable Office de la web oficial o de la tienda de plugins de su CMS.
- Instálelo en su sitio web o plataforma de gestión siguiendo las instrucciones proporcionadas.
Paso 2: Configurar los ajustes básicos
- Inicie sesión en el panel de control del plugin.
- Introduzca los datos de su empresa, como nombre, dirección e información de contacto.
- Personalice los ajustes para adaptarlos a sus necesidades operativas.
Paso 3: Sincronización con los sistemas existentes
- Integre el plugin con su CRM o sistema de reservas para una transferencia de datos perfecta.
- Importe los datos existentes de clientes e inventario al plugin.
Paso 4: Pruebe la configuración
- Realice una reserva de prueba o una actualización de inventario para asegurarse de que todo funciona como se espera.
- Resuelva cualquier problema de configuración antes de la puesta en marcha.
Configurar correctamente el plugin sienta las bases para un funcionamiento sin problemas.
Gestión de clientes de alquiler de eventos con Inflatable Office
La gestión de clientes es el núcleo del plugin Inflatable Office. Sus funciones facilitan la gestión de las relaciones con los clientes y las reservas.
Paso 1: Añadir nuevos clientes
- Vaya a la sección "Clientes" del panel de control del complemento.
- Haga clic en "Añadir cliente" e introduzca datos como el nombre, la información de contacto y las preferencias para el evento.
- Guarde el perfil para futuras consultas.
Paso 2: Ver y editar los datos del cliente
- Acceda a los perfiles de los clientes para ver su historial de reservas y sus preferencias.
- Editar los datos necesarios para mantener los registros precisos y actualizados.
Paso 3: Segmentar las listas de clientes
- Agrupe a los clientes en función de criterios como el tipo de evento, la frecuencia de reserva o la ubicación.
- Utilice estos segmentos para campañas de marketing o seguimientos específicos.
Paso 4: Automatizar la comunicación
- Configure correos electrónicos automáticos para confirmaciones de reservas, recordatorios y notas de agradecimiento.
- Personalice los mensajes para mejorar la experiencia del cliente.
Una gestión eficaz de los clientes ayuda a fidelizarlos y a impulsar la repetición del negocio.
Seguimiento del inventario con el plugin de oficina hinchable
El seguimiento del inventario es esencial para garantizar que los equipos estén disponibles, sean funcionales y se asignen correctamente. El plugin de oficina hinchable simplifica este proceso.
Paso 1: Añadir artículos al inventario
- Vaya a la sección "Inventario" del panel de control.
- Haga clic en "Añadir artículo" y facilite datos como el nombre, la descripción, la cantidad y el estado.
- Cargue fotos para facilitar la identificación.
Paso 2: Controlar la disponibilidad
- Utilice el calendario de inventario para ver la disponibilidad de artículos para fechas concretas.
- Asigne equipos a los eventos para evitar la doble reserva.
Paso 3: Seguimiento del mantenimiento y las reparaciones
- Registre los programas de mantenimiento y los historiales de reparación de cada elemento.
- Establezca recordatorios de las próximas tareas de mantenimiento para mantener los equipos en las mejores condiciones.
Paso 4: Generar informes de inventario
- Utilice las herramientas de elaboración de informes para analizar el uso del inventario, las tendencias y las carencias.
- Ajustar las estrategias de compra y asignación en función de los datos.
En WebbDesignzEn este sentido, insistimos en la importancia del seguimiento de las existencias en tiempo real para evitar contratiempos operativos.
Agilizar las reservas con la oficina hinchable
El sistema de reservas del plugin de oficina hinchable simplifica la programación de eventos, facilitando las cosas tanto a los clientes como al personal.
Paso 1: Establecer reglas de reserva
- Defina normas para las reservas, como periodos mínimos de preaviso, políticas de cancelación y requisitos de depósito.
- Configure las franjas horarias y la disponibilidad de los distintos servicios.
Paso 2: Gestionar la programación de eventos
- Vea todos los eventos programados en el calendario para tener una visión clara.
- Edite las reservas para adaptarlas a cambios o cancelaciones.
Paso 3: Aceptar reservas en línea
- Active la función de reserva en línea en su sitio web.
- Permita a los clientes seleccionar artículos, fechas y horas directamente de su inventario.
Paso 4: Automatizar las notificaciones
- Configure notificaciones automáticas para confirmaciones de reservas, cambios y recordatorios.
- Mantener informados en todo momento tanto a los clientes como al personal.
Un proceso de reserva racionalizado aumenta la eficacia y la satisfacción del cliente.
Generación de informes y perspectivas
Las herramientas de generación de informes del plugin de oficina hinchable proporcionan información valiosa sobre las operaciones de su empresa. Utilice estos informes para tomar decisiones con conocimiento de causa.
Tipos de informes disponibles:
- Informes de clientes: Analice las pautas de reserva, las preferencias y los índices de repetición.
- Informes de inventario: Supervise el uso, la disponibilidad y los programas de mantenimiento de los artículos.
- Informes financieros: Seguimiento de ingresos, gastos y márgenes de beneficio.
Cómo generar informes:
- Vaya a la sección "Informes" del panel de control del plugin.
- Seleccione el tipo de informe y el intervalo de fechas.
- Exporte el informe para analizarlo o compartirlo.
Los datos ayudan a optimizar las operaciones y a identificar oportunidades de crecimiento.

Prácticas recomendadas para utilizar el plugin de oficina hinchable
Para aprovechar al máximo las ventajas del plugin de oficina hinchable, siga estas prácticas recomendadas:
- Actualización periódica de datos:
- Garantizar que la información sobre clientes e inventarios sea siempre exacta.
- Programe actualizaciones rutinarias para evitar errores.
- Forme a su equipo:
- Proporcionar al personal una formación completa sobre el uso del plugin.
- Anímeles a explorar las funciones para lograr una mayor eficacia.
- Aproveche la automatización:
- Automatice las tareas repetitivas, como las notificaciones y los informes.
- Céntrese en las actividades estratégicas mientras el plugin se encarga del resto.
- Supervisar el rendimiento:
- Utilice los informes para evaluar la eficacia de sus operaciones.
- Realice ajustes en función de los datos obtenidos.
En WebbDesignzEn la actualidad, ayudamos a las empresas a aplicar estas prácticas para obtener resultados óptimos.
Reflexiones finales
El plugin Inflatable Office Plugin cambia las reglas del juego para las empresas de alquiler de eventos, ya que ofrece herramientas para gestionar clientes, inventario y reservas a la perfección. Si sigues esta guía, podrás aprovechar las funciones del plugin para aumentar la eficiencia, mejorar la satisfacción del cliente e impulsar el crecimiento del negocio.
Si está listo para elevar sus operaciones con el plugin de oficina hinchable, WebbDesignz está aquí para ayudarle. Nuestro equipo se especializa en implementar y optimizar herramientas para satisfacer las necesidades únicas de su negocio. Póngase en contacto con nosotros hoy mismo para empezar a transformar la gestión del alquiler de eventos.


